Today I would like to share with you another flower purses I made. The one in the pictures I did while ago for my sister-in-law. (It was very hard to give it away - women and their purses.)


I like to share with you the pattern for purse I finished couple of hours ago.

Soft flowers purse pattern

35cm x 38cm (14” x 15”), bottom cca 7cm (2,8”)
The size really depends on type of material and size of the hook you are using, which is up to you.
You need:
I used 320 grams (11.3 oz) and just under 1000 meters (1100 yards) of 70% cotton/ 30% acrylic suitable for G/4mm crochet hook
Crochet hook E/3,5mm for the purse and G/4mm for the flower squares
Yarn Needle, 30cm (12”) zipper
Terms/Abbreviations: I used US terminology
ch chain
slst slip stitch
sc single crochet
dc double crochet
st stitch
sk skip
Note: Read all the instructions first. I wrote it the way I did it, and I found it the easiest way for me, but you can choose to make the parts of the purse in a slightly different order, whichever suites you better.
Purse body: Front

First you have to make 16 flower squares 8cm x 8cm (3,2” x 3,2”). I used free flower square pattern I found here and crochet hook G/4mm. You can use any square shape with or without flowers as long as you like it. It is your choice.

You need to crochet the squares together, I used sc’s.

To secure the rows, and to give the future purse a nice form, I made the border with 5 rows of sc’s all around. Starting at the top right hand corner – sc in sc and 3sc’s in the corners. The first row I crocheted back stitch only. When I finished fifth row, I added 4 rows of sc’s to the top of the purse, to make it higher. (That’s why is good to start in the top right hand corner. It saves you cutting the yarn). The front is finished.
Purse body: Back

For the back of the purse I used a classical granny square.
I made 16 rounds. You may need to do a row less or a row more. Just count the stitches. I continued the same way as with the front - 5 rows of sc’s all around. Starting at the top right hand corner – sc in sc and 3sc’s in the corners. The first row I crocheted back stitch only. When I finished fifth row, I added 4 rows of sc’s to the top of the purse. The back is now also finished.

Now it’s the time to sew the front and back together. I sewed it together by hand – using back stitch only. You will have formed a tube or cylinder.
Bottom of the purse:

It is worked in circular (oval in this case) crochet method, beginning at center of the oval. Slip stitch join at end of each round. Don’t turn, but continue in same direction.
Ch 54, dc into 4th ch from the hook and follow the chart. Make four rounds. End up with slst.


You should end up with oval containing approximately 144 stitches around the outside . Don’t panic if there is one or two more or less stitches. Mark the sides, It’s easy to correct it by sc’s together while you are crocheting the bottom to the cylinder body of the purse. I used sc’s to connect it together again.
Lining:


I this stage I would put a lining in the purse. (I didn’t. I did the handle first, but it was trickier.) I sewed it in by hand, to the second last round of the purse’s body as shown on the picture. I suppose, you can sew the lining by machine. I just don’t know how visible it’ll be on outside.
Handle:


which measures cca 30 cm (12”). You can adjust the length of the handle by adding or removing the rows with 13 dc’s. Fasten off.

Other side of the handle is worked same way.
I sewed the two parts of handle together. You can crochet them together if you like.
Zipper:

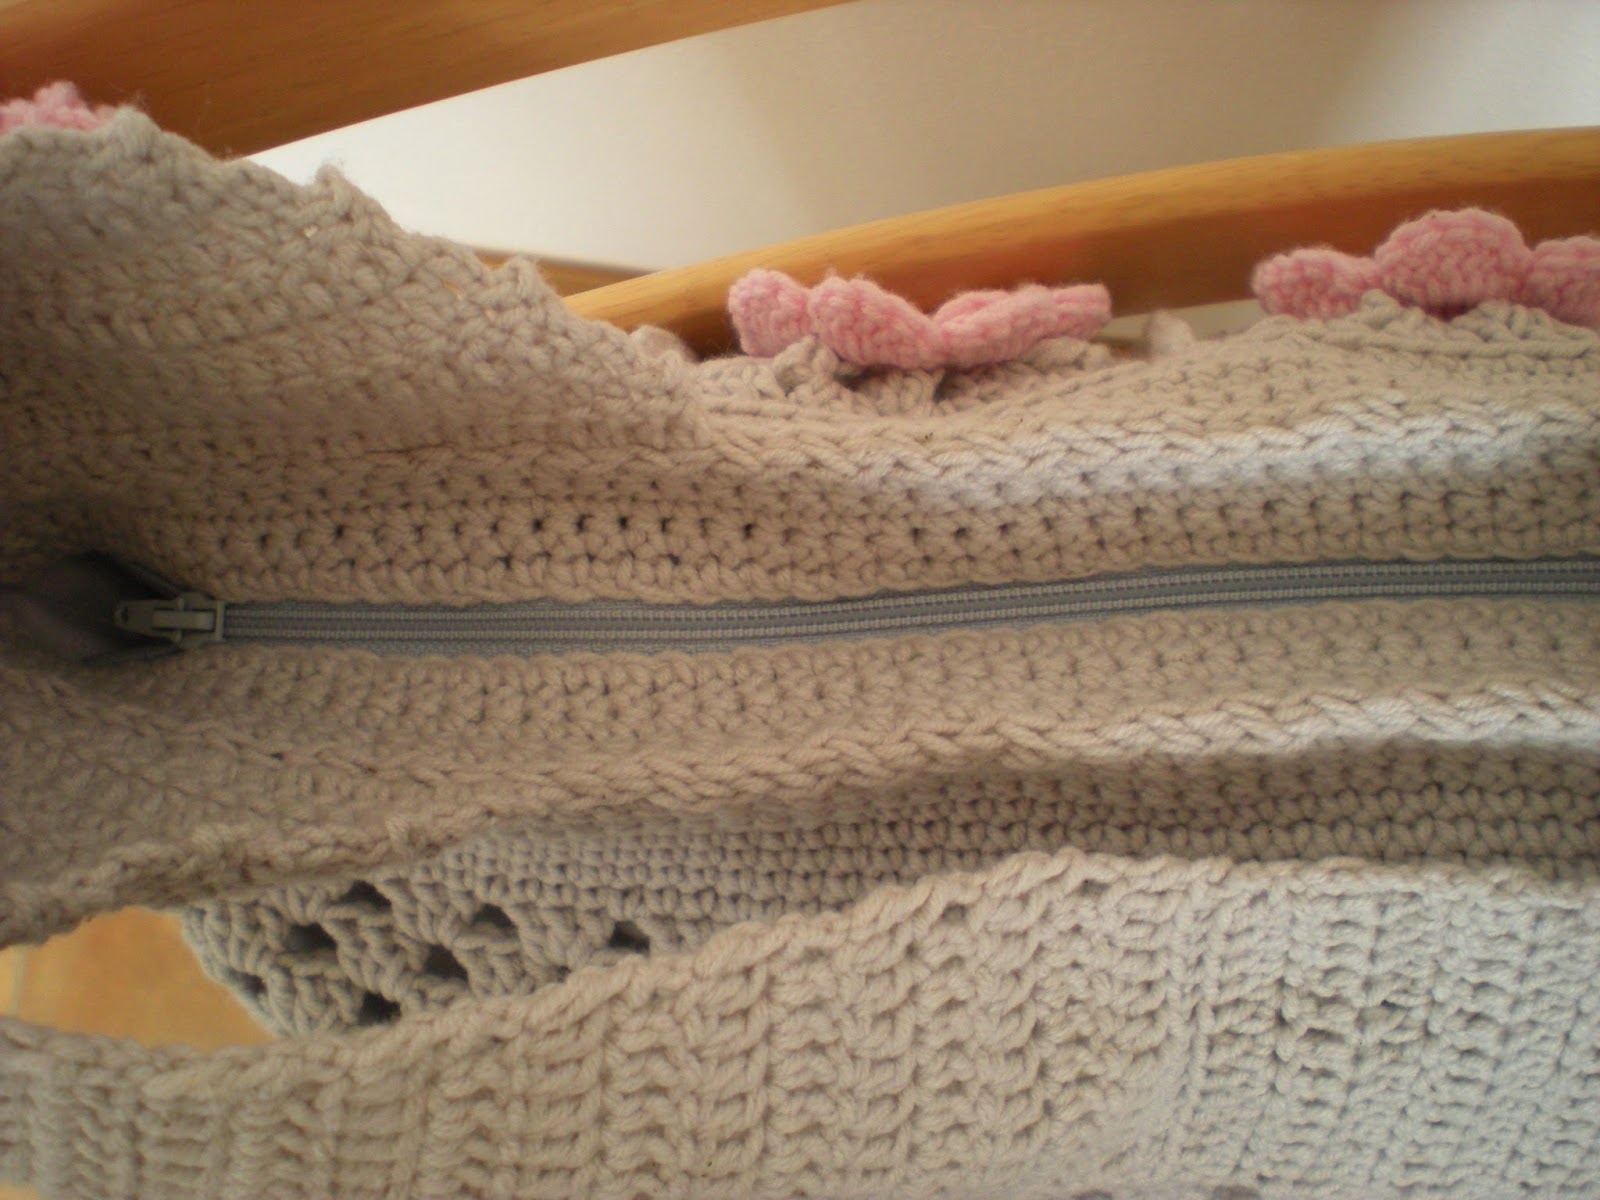
I’m adding zippers to most of my purses. This time I put the zipper in at the end.
First I crocheted ch65, sc into the second ch from the hook and sc front/back for five rows. Fasten off, but leave around 1m (40”) long end.
I did two pieces and sewed it by hand to the zipper.
Than I sewed the zipper with the extension to the purse.
Finishing:
I put my little “Emm” label on the lining of the purse.
**********************************************************************
Flower brooch pattern

Materials:
I used few meters of 70% cotton/30% acrylic yarn. (Any yarn would be just fine, as long as it suites your purposes)
3mm for the balls and E/3,5mm hook for the flowers, tapestry needle, little bit of stuffing, and a safety pin
Terms/Abbreviations: I used US terminology
chain ch
single crochet sc
double crochet dc
slip stitch slst
stitch st
decrease dec.
repeat *-*
I used a May Roses pattern from Atti24 for the flowers.
Base:

E/3,5mm hook
Start with Magic loop
Row 1: Ch1,6 sc in 2nd ch from hook (6sts)
Row 2: *2sc in each sc* (12 sts)
Row 3: *sc in next sc, 2sc in next sc* (18 sts)
Row 4: *sc in next 2 sc, 2sc in next sc* (24 sts)
Row 5: *sc in next 3 sc, 2sc in next sc* (30 sts). Fasten the end.
Bigger ball: E/3,5mm hook
Start with Magic loop
Row 1: Ch1,6 sc in 2nd ch from hook (6sts)
Row 2: *2sc in each sc* (12 sts)
Row 3: *sc in next sc, 2sc in next sc* (18 sts)
Row 4, 5: repeat row 3 (18 sts)
Row 6: *sc in next sc, 2scdec. in next sc* (12 sts). Fill the ball with a little bit of stuffing at this stage.
Row 7: *2scdec. in each sc* (6 sts)
Row 8: *2scdec. in each sc* (3 sts)
Yo 3 last stitches on the hook and sc, ch15, leave longer tail cca 20cm (8”).
Smaller ball: E/3,5mm hook
Start with Magic loop
Row 1: Ch1,6 sc in 2nd ch from hook (6sts)
Row 2: *2sc in each sc* (12 sts)
Row 3, 4: repeat row 3 (12 sts). Fill the ball with a little bit of stuffing at this stage.
Row 5: *2scdec. in each sc* (6 sts)
Row 6: *2scdec. in each sc* (3 sts)
Yo 3 last stitches on the hook and sc, ch13, leave longer tail cca 20cm (8”) end.
Smallest ball: 3mm hook
Start with Magic loop
Row 1: Ch1,6 sc in 2nd ch from hook (6sts)
Row 2: *2sc in each sc* (12 sts)
Row 3, 4: repeat row 3 (12 sts). Fill the ball with a little bit of stuffing at this stage.
Row 5: *2scdec. in each sc* (6 sts)
Row 6: *2scdec. in each sc* (3 sts)
Yo 3 last stitches on the hook and sc, ch10, leave longer tail cca 20cm (8”) end.
Assembly:
Sew the top and one of the side flowers on the base. Arrange the balls as you can see them in the picture, sew them together first, and then on the base afterwards. Cover the ball ends on the base with third flower. Add the safety pin on the back.
If you came up with any problems or difficulties, write to me, I’ll be more than happy to help.

Have nice spring weekend
Clara


