Translate

Showing posts with label Union Jack. Show all posts

Friday, September 8, 2017

Recycled denim bags

Hi,
As you might know already I really love to make bags and purses. I’m experimenting with combining crocheting and sewing to make some of my bags. You can see these in my earlier posts.
The past few weeks I was working on my first fully sewn bags. I used my favorite material-denim. To be more specific recycled denim, which I’m getting in my favorite charity store. The varieties are endless and it keeps the cost of material reasonably down.
As I mentioned before I only have minimal sewing skills and I –with some (big) help from Google –managed it.
The star shoulder bag you can see right below is measuring: cca 44cm x 37cm(17,6” x 14,8”), handles 50cm(20”).


The fold over bag you can see right below is measuring: cca 35cm x 45cm(14” x 18”), handles 50cm(20”).


I hope you like the bags as much as I do. I would like you to take this post as an encouragement to all of you, who are not professional tailors, and would like to try to sew something for yourself. It can be done with a little bit of dedication. 

Have a nice week
Clara


Saturday, June 27, 2015

Summary of bags and purses tutorials

Hello,
I was organizing photos in my laptop and I decided to put together all the bag and purse tutorials I made for you. The ones I didn’t make the patterns for have got a link to the original pattern.


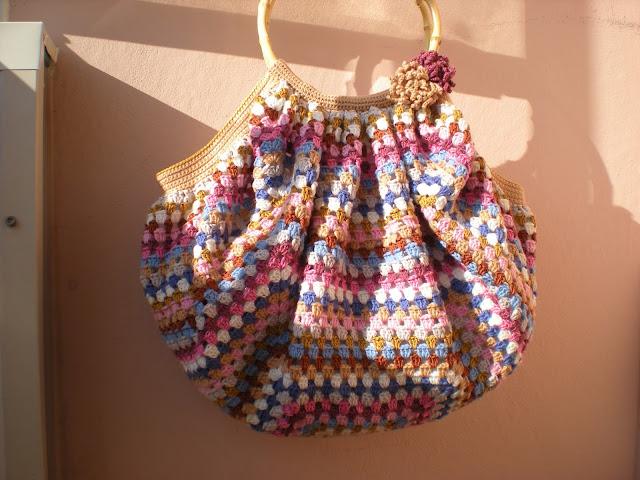
Big granny purse


Just a purse
This purse was one of my early projects. I don’t have a pattern, but I used this square from Ravelry.


Have a nice week
Clara


Sunday, April 19, 2015

Feeling Patriotic

Hello,
I was thinking for a while about a nice decorative pillowcase. There are so many patterns to choose from, I couldn’t make up my mind. I was thinking about something a little bit patriotic since the royal baby is going to born soon. Than I saw the little squares on Lucy’s blog. I have to admit, I was a bit discouraged by the amount of sewing and tiding up the lose ends I would have to do, but I wanted to make a Union Jack pillowcase using those little squares. So I came up with a different way to put them together. It’s just requiring little bit less needlework.


Union Jack/denim pillowcase pattern

Finished size: 40cm x 40cm (16”x 16”)
Crochet Union Jack flag: 34cm x 34cm (13,5”x 13,5”)

You need: 
I used cca 50 grams of dark red, 50 grams of off white and 50 grams of dark blue cotton
Crochet hook E/3,5mm
Yarn Needle 
A pair of jeans size 14 or bigger or guy’s jeans (preferably not stretchy ones). 
3 buttons

Terms/Abbreviations: I used US terminology
ch       chain 
slst      slip stitch
sc       single crochet
dc       double crochet 
st        stitch 
sk       skip

This is the chart, which I followed. You start in the top left-hand corner, working horizontally.

First square:
Ch4, slst. to 4th ch from the hook (form the ring), ch3, 2dc’s into the ring, ch3, 3dc’s into the ring, ch3, 3dc’s into the ring, ch3, 3dc’s into the ring, ch3, slst into the 3th ch from the first ch3 group.

Connecting the squares:


Ch4, slst. to 4th ch from the hook (form the ring), ch3, 2dc’s into the ring,


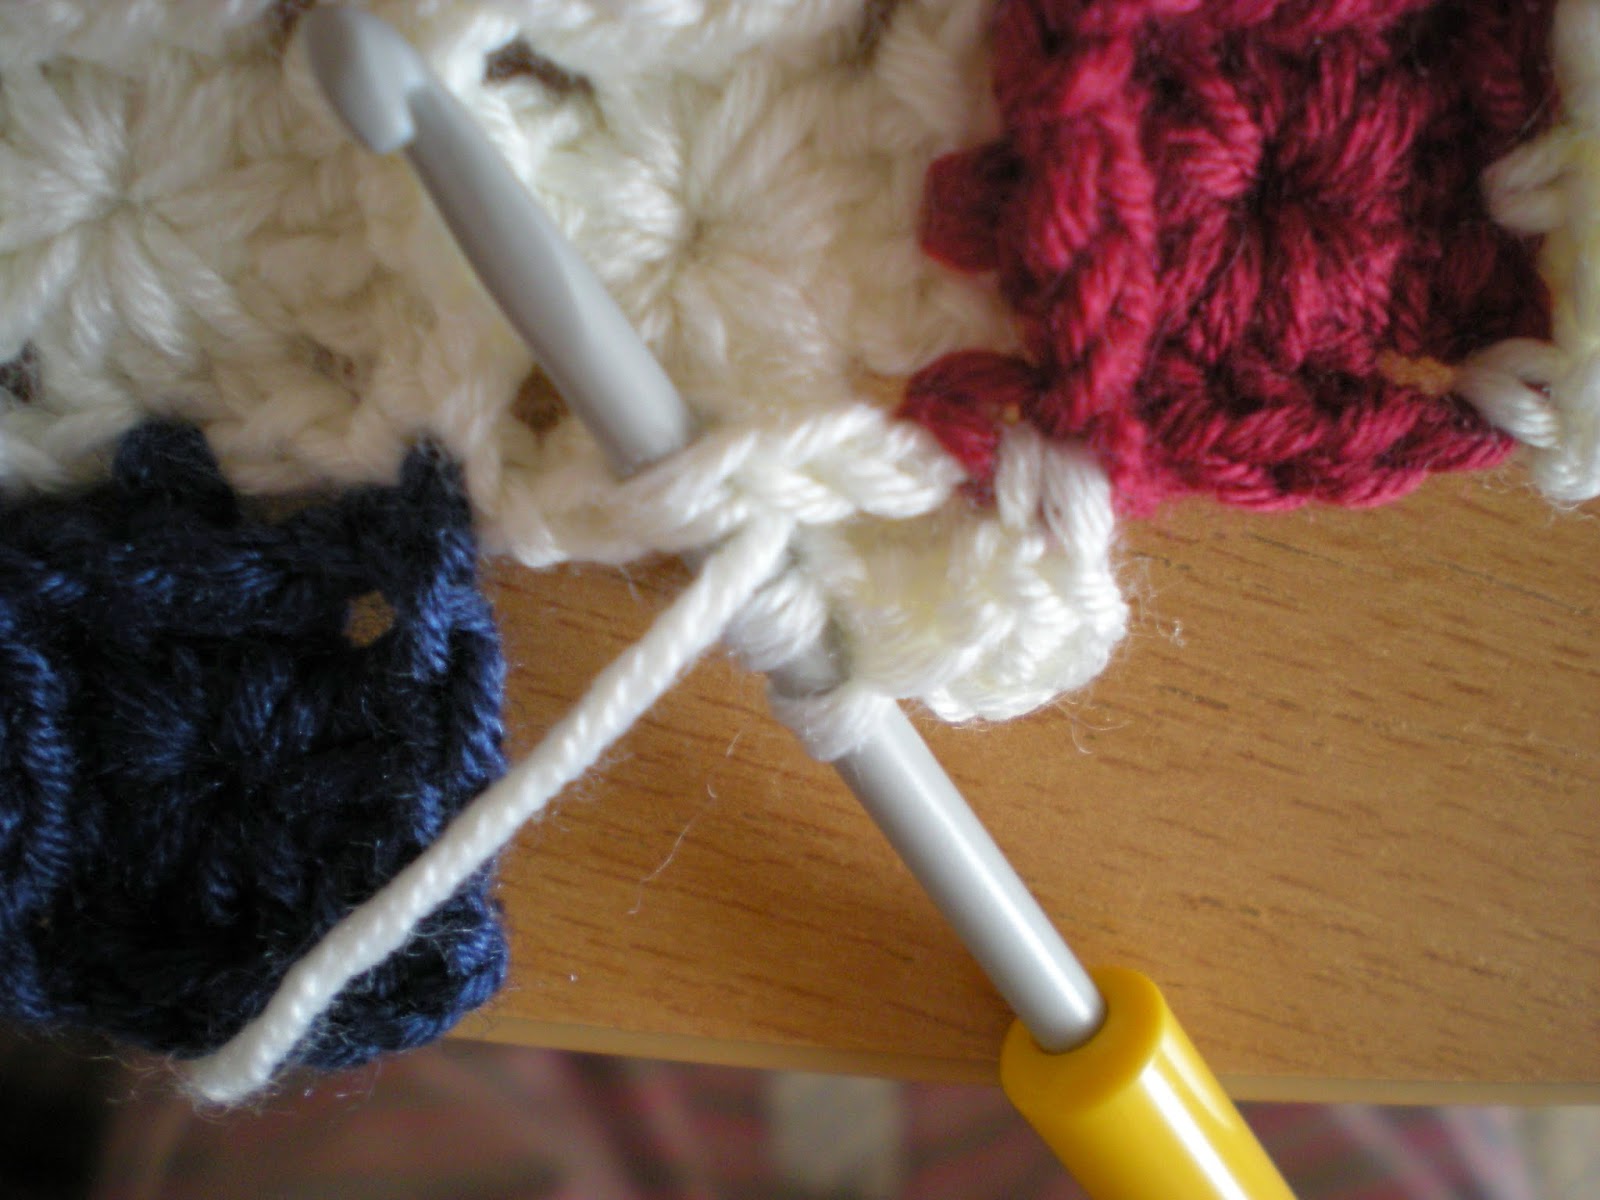
ch1, sc into the corner of top squares (see picture), ch1,


dc into the ring, start to do second dc into the ring,


right before you finish the second dc insert the hook into middle dc from top square (see picture),


with the cotton on the top, pull through (you have three loops on the hook),


yo and pull through all three loops, third dc into the ring, ch1,


sc into the corner of top and side squares (see picture), ch1,


dc into the ring, start to do second dc into the ring, right before you finish the second dc insert the hook into middle dc from top square (see picture), with the cotton on the top pull through (you have three loops on the hook), yo and pull through all three loops, 


third dc into the ring, ch1,


sc into the corner of side squares (see picture), ch1,


3dc’s into the ring, ch3,


slst into the 3rd ch from the first ch3 group. You have to trim the loose ends now, after every finished square. (It’s time consuming, but faster than sewing each square separately.)


All together 196 little squares, measuring all together cca 34cm x 34cm (13,5”x 13,5”).
Steam iron it, just be careful if you are using anything else than cotton.

Jeans/denim pillowcase:
For the actual pillowcase I used pair of jeans I bought after my daughter was born. I had them on couple of times, but I got a bit smaller quite soon. However I kept them in the wardrobe as a reminder of my size. It gave me great pleasure to cut them up and use them for something more useful, plus they were just perfectly suitable for this kind of project.
You can really use any kind of suitable fabric, but I used this old/new pair of jeans, because I hope I won’t ever need this size again.

Cut the jeans so it gives you one/front square measuring 41cm x 41cm (16,5”x 16,5”) or the size you would like your pillowcase to be. If you have to sew the bits of jeans together to get the right size, don’t worry, it won’t be visible much since you will sew the crochet square on it.
Pin the crochet square centrally on a right side of your jeans square and sew it on by sewing machine. Steam iron it again if needed (I did).


The back of the pillowcase looks like this. I cut two pieces of jeans (make sure they are nice pieces) measuring 41cm x 25cm (16,5”x 10”). Sew all parts together wrong side up as you can see on the picture. I put three buttons on back of my pillowcase.


You should end up with interesting, little retro, pillowcase. Don’t be scared, if you are not very good in sewing. Personally, I can sew just straight lines and I did it and I like it a lot. The case is not exactly 3D, but it does have very nice texture.


************************************************

Have nice week
Clara

Saturday, April 11, 2015

Union Jack purse

Hello,
Today I’d like to show you some of the knitting I did. I have to say up front, I’m not a knitter. I’m crocheter with all my heart, but from time from time I’m having little affair with knitting. I started when I was a teenager and I watched my mum knitting all the time, but I had “more important” things to do than, as we all had.
Not long ago I made this Knitted heart shawl you could see here previously posted already.


After I finished this shawl, I didn’t feel any more experienced than I was before, but it hasn’t stopped me coming up with something of mine own. By now you know that I love making the purses and bags of any kind. So I came up with this knitted Union Jack purse.


I have to admit it was very hard for me. I had to learn first how to knit together more colors. You Tube helped me a lot. If you, like me, would like to make this purse, but are not blessed with advanced knitting skills, You Tube is the way to go, plus a bit of dedication, and you are off to a good start. 
Don’t get discourage if you can’t knit much, it shouldn’t stop you.


Union Jack purse - pattern


Size: 
width 35cm x height 38cm (14”x 15”), handles cca 60cm (24”)
You need: 
I used cca 250 grams of red, 50 grams of off white and 50 grams of red/off white/orange multicolor yarn suggested for 4mm needles.
Straight needles 4mm
Yarn Needle 
Around 40cm x 90cm (16” x 36”) of cotton for the lining (you don’t have to use cotton)
30cm (12”) zipper


Stitches used:
K     knit, p     purl

The purse is worked from bottom up. The chart is showing all rows – right side (RS) and wrong side (WS).
The Union Jack and the Crown are worked K on RS, p on WS only. Grey windows on the chart (except the first row) are worked K on RS, p on WS.
All the backside of the purse and most of the front are worked in seed stitch (K1, p1 on the first row, and on all successive rows, K the P's and P the K's).


Front of the purse:
Cast on 65sts + 1 end stitch from each side.
Row 1: K1, p1 on the first row
Rows 2-6: K the p's and p the K's
Row 7: Starting stitch, 14 K the p's and p the K's, 37 K on RS, 14 K the p's and p the K's, end stitch.
Rows 8- 94: follow the chart
Row 95: RS, K  all K's and p's
Row 96: WS, p's

Back of the purse:
Cast on 65sts + 1 end stitch from each side.
Row 1: K1, p1 on the first row
Rows 2-94: K the p's and p the K's
Row 95: RS, K  all K's and p's
Row 96: WS, p's

Sew the sides and the bottom together now.

Handles: 
I used handles that I took of a purse I found in my favourit charity shop. I didn’t intended to do it, but when I saw the purse, which was perfect color and size match, for less than £1, I had to. I sewed the handle between the purse top and lining.

Lining:
I recommend lining this purse, but is not required. It will help the bag to keep its shape better, and show off the knitted pattern!
I put a lining in most of my purses.  I’m sewing it in by hand, to the second last round of the purse’s body. I suppose, you can sew the lining by machine. I just don’t know how visible it’ll be from outside.


Zipper:
I’m adding zippers to most of my purses as well. Usually I put the zipper in at the end.
I sew a piece of fabric to the sides of zipper, and sew it in after I have put the handles and lining in.


There it is. You should have nice purse now, or an inspiration for one at least.
I hope you understand the way I wrote this pattern. If you come up with any problems or difficulties, write to me, and I’ll be more than happy to help.

Have a nice week
Clara